The chickens have landed

With the use of some simple screws and a handy flat pack kit from Chicken Coops Direct, we are now the owners of a nice little chicken coop and run. The only additional work needed was a coat of wood stain/preserver because we didn’t like the colour of the coop as supplied.

Total assembly time was probably 30-40 minutes but that was followed by a few hours of slapping on the preserver, waiting for it to dry and then slapping on a second coat. It was delivered on Friday afternoon but was completed and in position by the end of Saturday ready for the new arrivals. After all that effort I think it looks very nice but then I’m a little biased.

Obviously all that effort would have been wasted without getting the residents in there so here is a run down on the new arrivals…
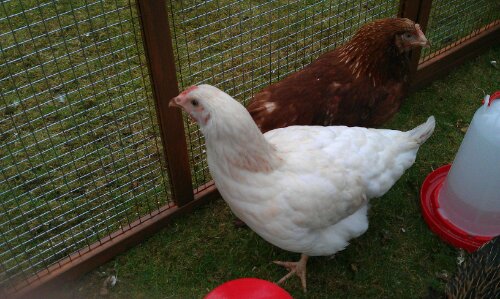
imageFirst up we have Amy which is an Amber (or should that be Amber Star?) that is apparently taking the lead role for the group.

She is certainly the bravest of the 3 and the happiest around us although still not entirely sure of things. We hadn’t originally planned to get a white bird but it does make for a nice contrast between the 3 of them.
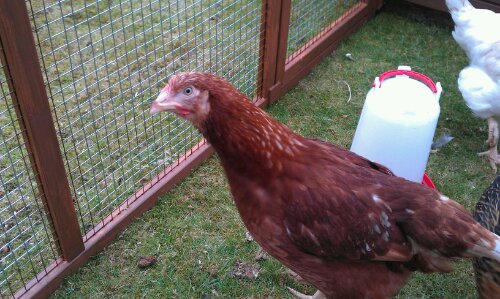
imageAdele, a Bovan Goldline which according to the power of the internet is apparently a cross between a Rhode Island Red Cock / Light Sussex Hen.

This one is also fairly confident and started taking food from our hands within a day or two but is still not happy with us getting too close. If I’m honest the main reason for getting one of these was that I loved the alternate name that some people use – Ginger Nut Ranger
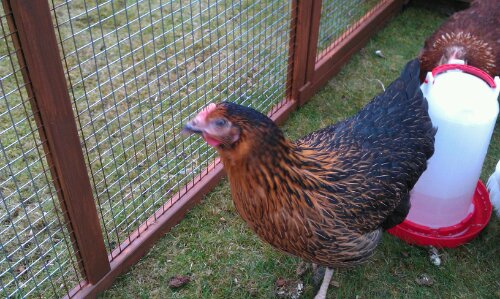
imageAnd finally, there is Aretha, a Rhode Rock which appears to be a cross between a Rhode Island Red and a Barred Plymouth Rock.

This one is the most skittish of the 3 and so far has kept away from the big scary humans. Beautiful plumage…
Weekend plans, Part 2

After some very careful thinking,  much research on the web and some quick email questions to my sister who has much greater experience in such matters we have now decided to stop messing about and just get some chickens to try that out.

First things first, we had to order the chicken house and run which eventually led to Chicken Coops Direct – an online-only company with a very impressive website and a good range of chicken buildings and runs for sale at what seem to be good prices. Perhaps the price charged reflects the use of poor quality wood or poor workmanship but we’ll find that out this weekend.

I also realise that a flashy website is not always a good indicator of the level of service and product quality  provided but so far so good – especially after my own incompetence when checking the wrong account for email confirmation of the order and hassling them with an email!  All sorted out by a quick phone call from them so a plus for that already!

We expect delivery on Friday so I predict construction will take place on Friday afternoon after applying a decent coat of preservative to all the wood. We have a site earmarked already and a spare bag of wood chip to put down if we decide to clear away some of the grass.

Once the coop and run is in place there will be more details and photos…

New mini greenhouse

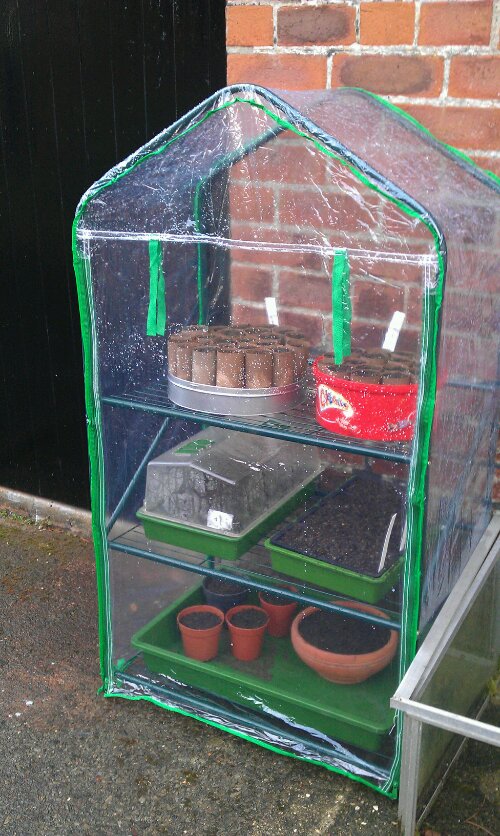
Mini greenhouse from the local pound shopSometimes you find a bargain and sometimes the bargain finds you. I quickly popped in to the local pound shop on Saturday to see if they had anything that might help if I decide to grow runner beans. (they didn’t really).
While in there I spotted this handy three shelf mini greenhouse with zip fronted plastic cover. It was only £10 so I thought I’d give it a try, especially as I know that there is only limited window sill space in my garage.

At that price you probably can’t go wrong and it’s much sturdier than I expected for the money. Even the plastic and zip front looks like it will last a least 2 or 3 years…

I think I can probably live with the prospect that they are on sale elsewhere at a lower price but I doubt that is possible!

Earlier I happened to stumble across what seems to be almost exactly the same product at the Thompson & Morgan website. I was very happy to note that it was priced a little higher than the £10 I paid for mine. Having said that I wouldn’t be surprised to find that this Mini Greenhouse from Thompson & Morgan was a better quality product which would explain the higher price.

UPDATE: The range at Thompson & Morgan seems to have changed since this was first posted so I’ve updated the links above as necessary.

Home-made seed trays

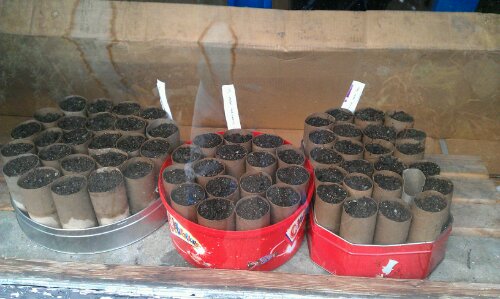
Here is a quick bit of information on the preparatory work on  the tins that hold the toilet roll tubes now that they are filled with compost and planted up with seeds.

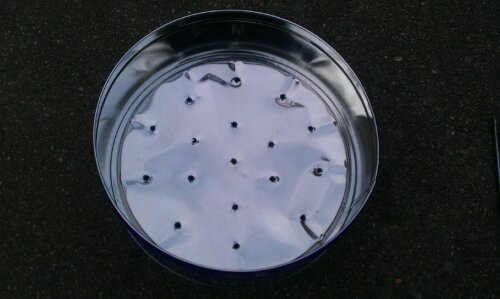
This example is nothing special just an old chocolate tin from Christmas time (in this case it’s Heroes) with some drainage holes added using a hammer and large nail.

image

It also seems a good idea to flatten down the edges of these holes as they looked pretty sharp but a gentle bash with the hammer did the trick.

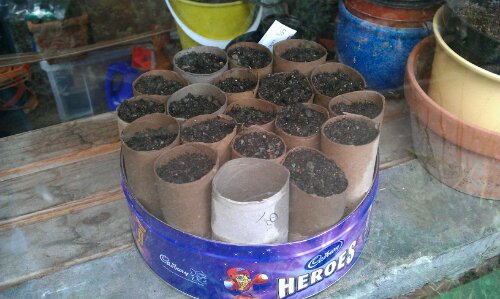
After that it was a simple task to fill the toilet roll tubes with some sieved compost (John Innes No 1 seemed the best option), plant the desired seeds (leeks and carrots) and then water them gently.

At first I hadn’t quite factored in the water absorption properties of the cardboard tubes which meant the first watering wet the tubes as well as the compost. However it was easily dealt with by giving them a second quick watering a short while later.

image

Fingers crossed for the future but so far my plans seem to be working…

The first batch of leeks and carrots are in!

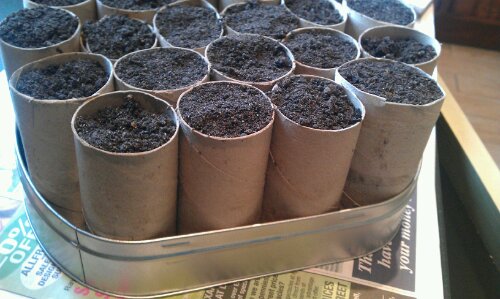
Just to prove that the toilet roll tubes worked well, here are a couple of pictures showing last weekends seed sowing. I have to confess that carrots weren’t originally on my list to grow but then I read somewhere about planting quick-growing crops in with the slower growing ones.

As a result I have batches of leeks (Apollo F1)  and carrots (Nantes Early?) planted and already on the garage windowsill. The  toilet roll tubes look like they are working well so far too which is nice!

Seeds in toilet roll tubes and biscuit tin


In total I have about 80 toilet roll tubes which I filled using  a 20 litre bag of John Innes No 1 and that is about evenly split with 40 of leeks and 40 of carrots.

A range of seeds planted and labelled


Update on the raised beds

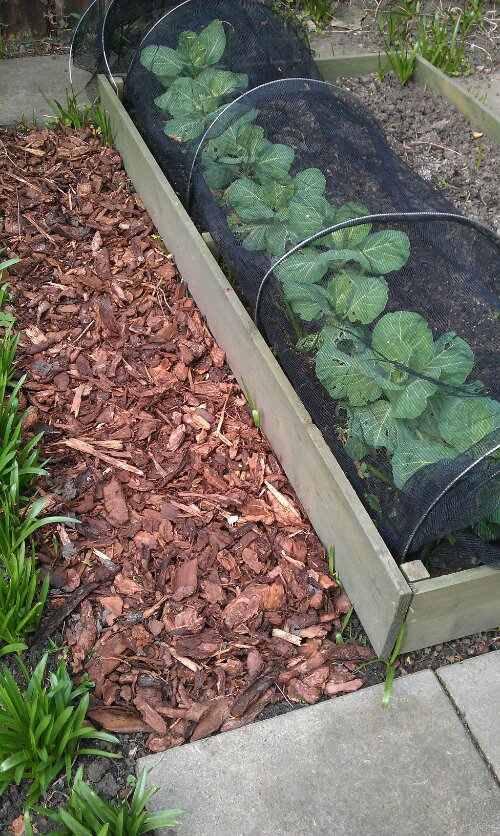
Raised veg bed with cabbages

Here are a couple of quick pictures as an update on the raised beds I added over the winter. To my inexperienced eye they look pretty impressive but then what do I know! 🙂
Last autumn I planted a few cabbage seedlings out (an impulse buy at B&Q) but they haven’t done a lot so far… At least the wood chip path along one side is looking nice and the bluebells which are everywhere should add a nice bit of colour eventually.

The other raised bed just next door is also looking good and when I took this picture the plan was to keep it covered for a while to keep it protected from any cold weather. I soon realised that the forecast is looking good for this week so I might as well leave it uncovered and get some rain on it!

Covered raised veg bed

The weekend beckons and the garden is calling…

I have big plans for activity on the vegetable growing this weekend so there should be much progress to report next week. For the moment I have posted a page of advice on growing potatoes which contains most of the knowledge I have gathered from various websites, blogs and vegetable growing books.

This  will be updated with any additional potato advice that I find and also with further details of my own experiences with growing Charlotte potatoes in a new vegetable bed I’ve started using.

With luck I should be able to plant a lot of my leek seeds in my home-made seed trays using cardboard tubes from toilet rolls. I may even experiment a little bit by filling them with different types of compost.

I also hope to fix my wheelbarrow which has had a flat tyre for ages and my initial attempts at repairs last year using a new inner tube were less than successful. I may end up cutting my losses though and just buy a new one – I can always place  the old barrow at the end of the garden and use it as a new raised bed


Setting up new vegetable beds

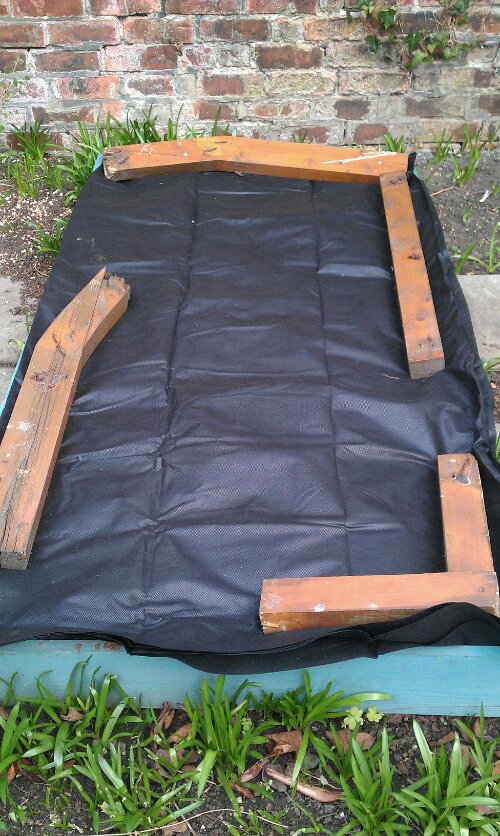
I thought it would be a good idea to keep some notes on the problems I had when first setting up the new raised vegetable beds. In general the process went fairly smoothly but there were a number of things that on reflection I might have done differently!

image

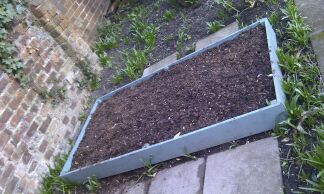
As you can see these are just average “low-slung” raised beds (these to be precise) that I ordered from Greenfingers.com once I’d decided to expand the amount of veg growing space in the garden.

Construction

The various parts of the flat pack kits were all painted with using the leftover bits from an old tin of wood preserving paint – maybe not the ideal solution for a more permanent setup but in my mind I’m still at the “evaluation stage” so I’ll give things a try while learning lessons along the way.

The first thing I noticed during the assembly was that the wood occasionally split when screwing the sides to the uprights.  The wood is perfectly adequate quality for a raised veg bed and should last several years (maybe up to 5 perhaps?)  but it would presumably last a lot longer if the construction didn’t leave splits and cracks everywhere.

Best lesson learned:  Build them properly so it lasts longer!

Installing and Filling

imageAs I’d found no better information while researching on the web, I order in a load of compost and manure to fill up my newly created veg beds. This combination was mixed  (with a bit of digging) into  the original top soil plus some extra spare top soil I had elsewhere. I also added what little existing home-made compost I already had so I’m hoping that the mixture will prove productive in the end.

After regularly reading the same point being made by a number of different books I decided to place a cloche over the veg bed which will be getting the potatoes later. This was partly to help keep the frosts off the newly dug area and partly to  encourage any remaining weeds to show themselves so I can get rid of them before planting.

Best lesson learned:  Use covers  in late winter so  weeds start growing and  you can get rid of them early!

Planting and results

Once the first veg bed was in place late last autumn I gave in to the impatience and temptation to plant something by nipping off to B&Q to buy some cabbage seedlings. I planted them out with great expectation for the future and they were immediately set upon by something which nibbled leaves relentlessly – presumably caterpillars although I never found any.  Some netting has since been added but even by February the plants were less than impressive so I’ll just have to give them time.